Akhil wants to improve the efficiency of his Excel. This, he realized, can be done by downloading add-ins. Add-ins are files that he can download that has additional functions, making Excel more useful. In this module we will look at
- Downloading an Add-in
- Viewing an Add-in
- Managing an Add-in
Downloading an Add-in
To download a new add-in, he should follow these steps:
-Select the ‘Insert’ menu on his Excel sheet and choose the ‘Store’ option in the ‘Add-ins’ group. The following dialogue box will appear.
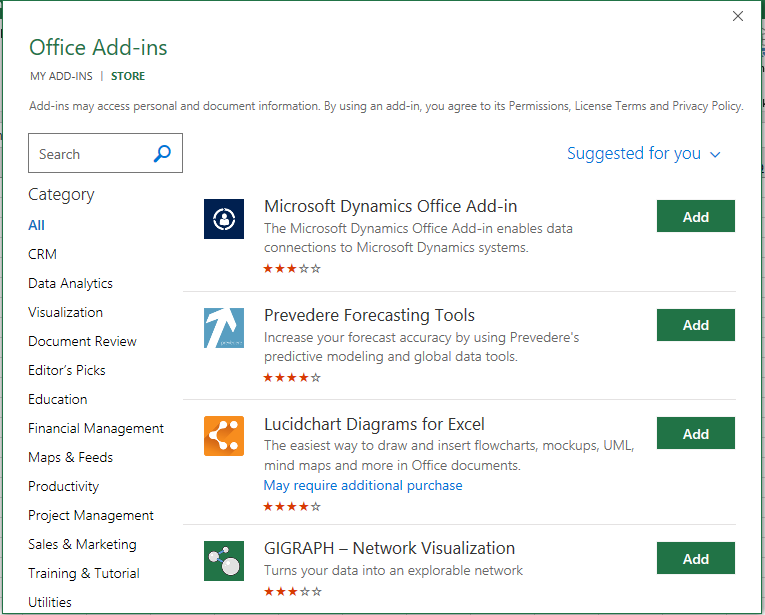
-This will show him the available add-ins in the Store. He can click on the one that best suits his needs and click on the ‘Add’ button beside it. It will be downloaded onto his Excel. The add-in will appear as a new icon on the ribbon.
Viewing an Inserted Add-in
To see the add-ins in his Excel, Akhil has to follow these steps
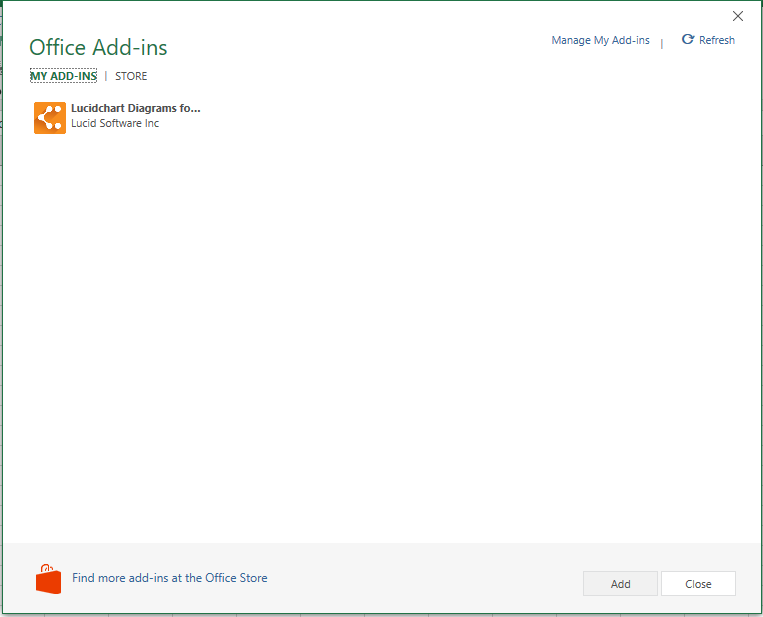
–Select the ‘Insert’ menu on his Excel sheet and choose the ‘My Add-ins’ option in the ‘Add-ins’ group. The following dialogue box will appear.
Managing an Inserted Add-in
To manage an Add-in that he has already inserted, Akhil should do as follows:
-Click on the dropdown arrow beside the ‘My Add-ins’ option in the ‘Insert’ menu. A dropdown list will appear from which he should select ‘Manage other add-ins’.
The following dialogue box will appear.
It will show him all the details about the add-in. He can click ‘Ok’ once done.
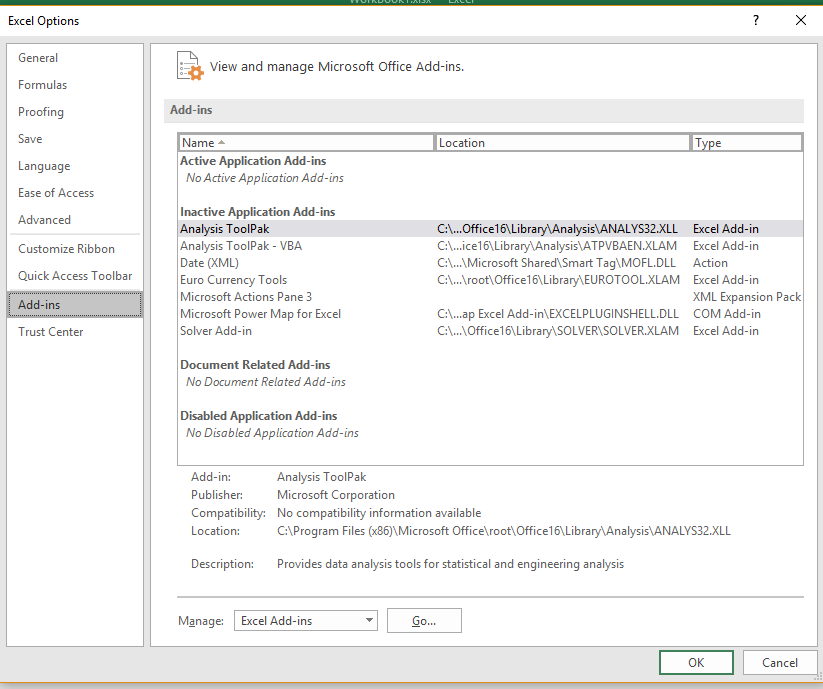
Another way by which he can do this is going to the ‘File’ menu and clicking on the ‘Options’ button in the green bar to the left. The ‘excel Options’ dialogue box will be displayed. He can now select the ‘Add-ins’ option from the list on the left. The same dialogue box will appear in which he can see details about the file.