We will continue to build our blog app where we left in the post https://padhle.com/writing-your-first-blog-app-in-django-part-3/ .In this post we will see how to control the content of our site using django admin.
Alright now so upto now we have a knowledge about how to interact with a database using django orm.We have also created a table and mapped it to a table.Now i had like to introduce you to django admin area which is really awesome feature of django comes fully baked with it.We don’t have to do anything to set it up and it is really cool.
So the admin area is an area for site admins to control the content of the website essentially or the contents of databases.We can create instances of models such as articles or something else we can control users of our website etc.So when we first started our blog project we saw in the main blog/urls.py file,we have the admin URL setup which is admin/ so that suggests us that admin section is also there.
So first go to that directory where blog project is saved in command prompt and run the server:
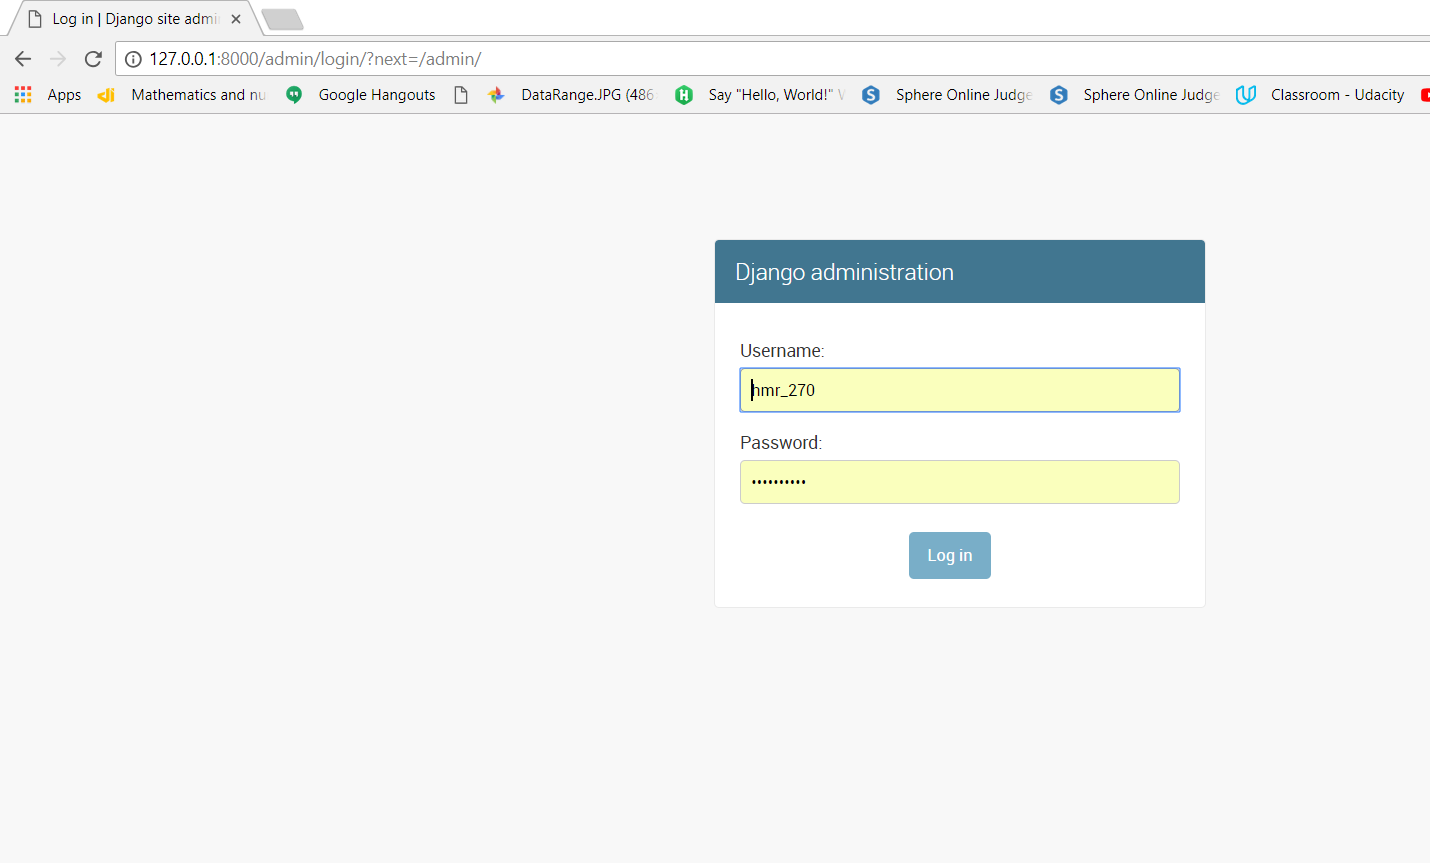
Now open the localhost/admin/(http://127.0.0.1:8000/admin/) to check the admin section.You will see this:
Further details about how to create username and password,how to login into admin site,how to add new articles or delete articles through admin section can be found in this post “The Django admin site-Free Django Tutorials“.
After this we are going to insert python logic and data into our templates using template tags.So upto now we have Article model and also few instances of Article model created and stored in database through admin site and orm.So now we will show how to retrieve those articles and to show them on the front end when someone goes to /articles they will be able to see the list of articles that are inside the database.So what we need to do is reach out to database in out app,grab those articles,send those articles to HTML template and dynamically output them so that the user can see them.
So here are the steps to do this.So first go into articles/views.py file and change that file according to this:
from django.shortcuts import render
from .models import Article
'''
Takes in the request object.
All we are going to do in this function is we will render a template
     to the user which is going to show a list of articles.
First parameter in render is always the request object and the second parameter is
     the template we want to render and third optional is the directory
'''
def articles_list(request):
    #Retrieve all articles from database and sort them according to date
    articles = Article.objects.all().order_by('date')
    return render(request, 'articles/articles_list.html',{'articles':articles})
Now go into articles/templates/articles/articles.html file.In that file we want output this data which we are rendering to that template.This we can done with the template tags,which are a way to output some kind of python code inside html file.
There are two types of template tags:
1] {% %} -which is used for conditions,loop
2] {{ }} -which is used for printing data
So change the articles_list.html file like this to print the data:
<!DOCTYPE html>
<html>

<head>
    <meta charset="utf-8">
    <title>Articles</title>
</head>

<body>
    <h1>Articles List</h1>
    <div class="articles">
        <!-- iterate through each article in list of articles -->
        {% for article in articles %}
        <div class="article">
            <h2><a href="#">{{ article.title }}</a></h2>
            <p>{{ article.body }}</p>
            <p>{{ article.date }}</p>
        </div>
        {% endfor %}
    </div>


</body>

</html>
Now after changing these files run the server.Now you will be able to see all the articles which are saved in your database with their title,body and date as following: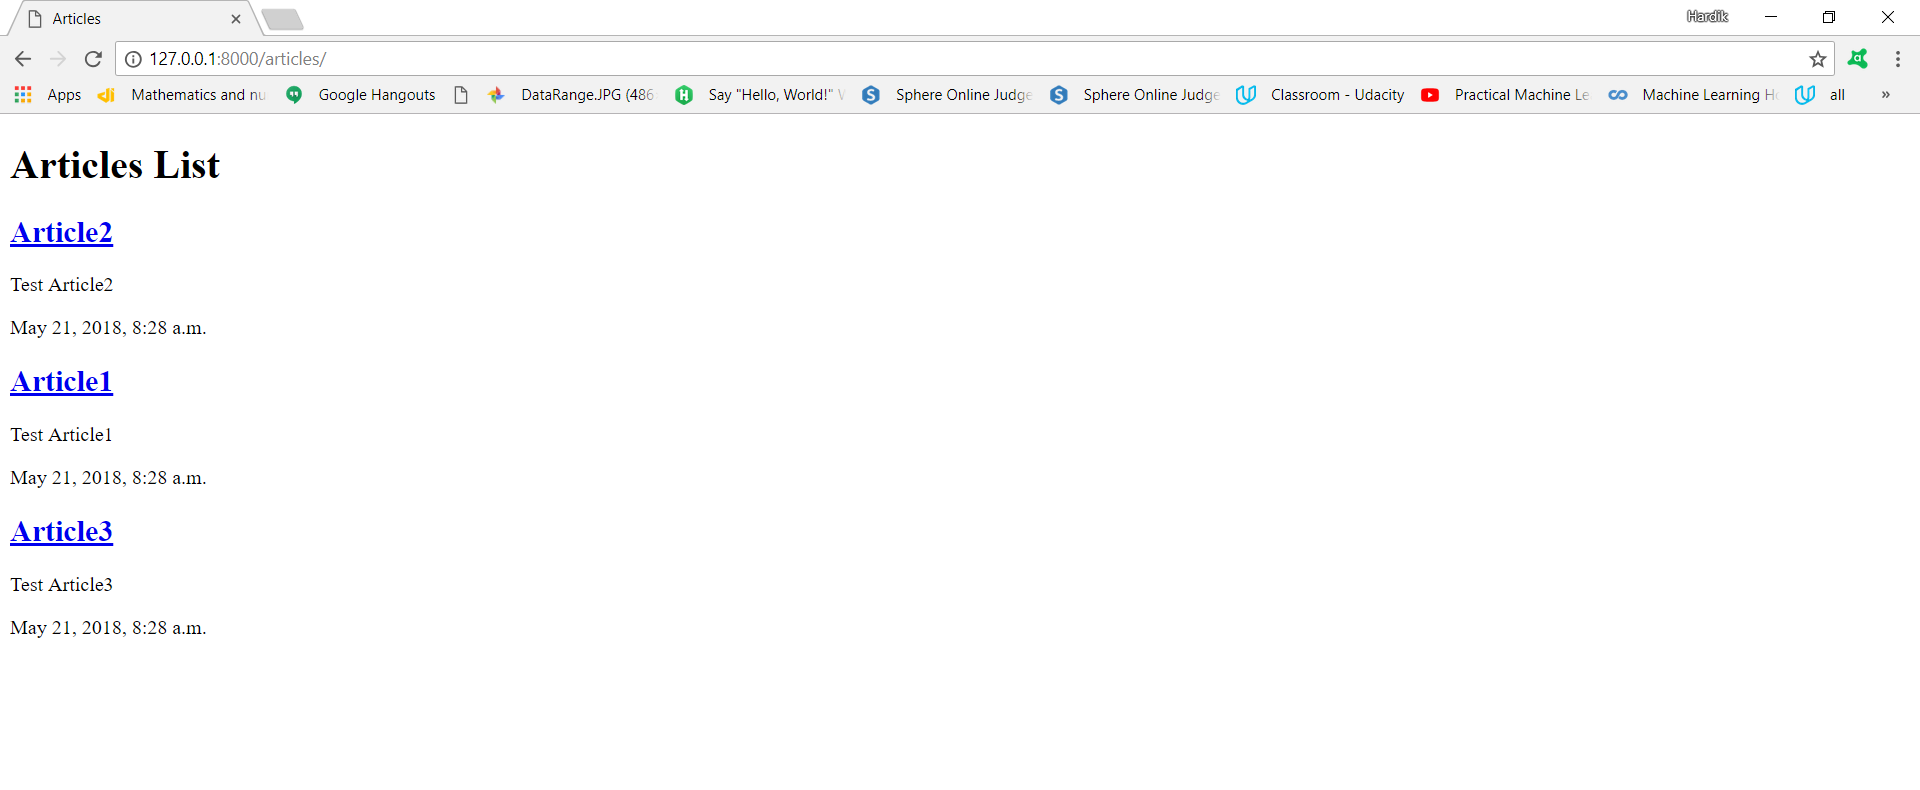
So this is all about how to retrieve all data which is saved into database and display it using template tags.