Kiran is working on her school project that is based on a website. She is doing this on an Excel file and there is a continuous need to insert screenshots of the webpage to complement her data. Confused, she doesn’t know what to do.
She can easily insert screenshots by using the ‘Take a Screenshot’ icon in Excel. This will enable her to insert screenshots of other windows that are open on her computer, to her excel sheet.
Where is ‘Take a Screenshot’ option present?
It is found in the ‘Insert’ menu of Excel, in the ‘Illustrations’ group.

How to Insert a Screenshot of an Open Window?
To do this, she should click on the ‘Take a Screenshot’ option. The following dropdown list will appear.
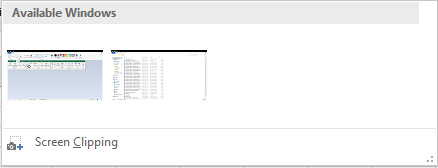 The ‘Available Windows’ option will show you the various windows that are already open on the computer.
If she wants to insert a screenshot of the entire screen, she can simply click on one of these options under ‘Available Windows’. The screenshot will be inserted into the sheet.
On the other hand, if she wants to insert not the entire screen but only a part of it, then she can do this by using the ‘Screen Clipping’ option. On clicking this, she will be directed to the last window that she had opened before the Excel sheet. She can drag the area that she wants to include as an image.
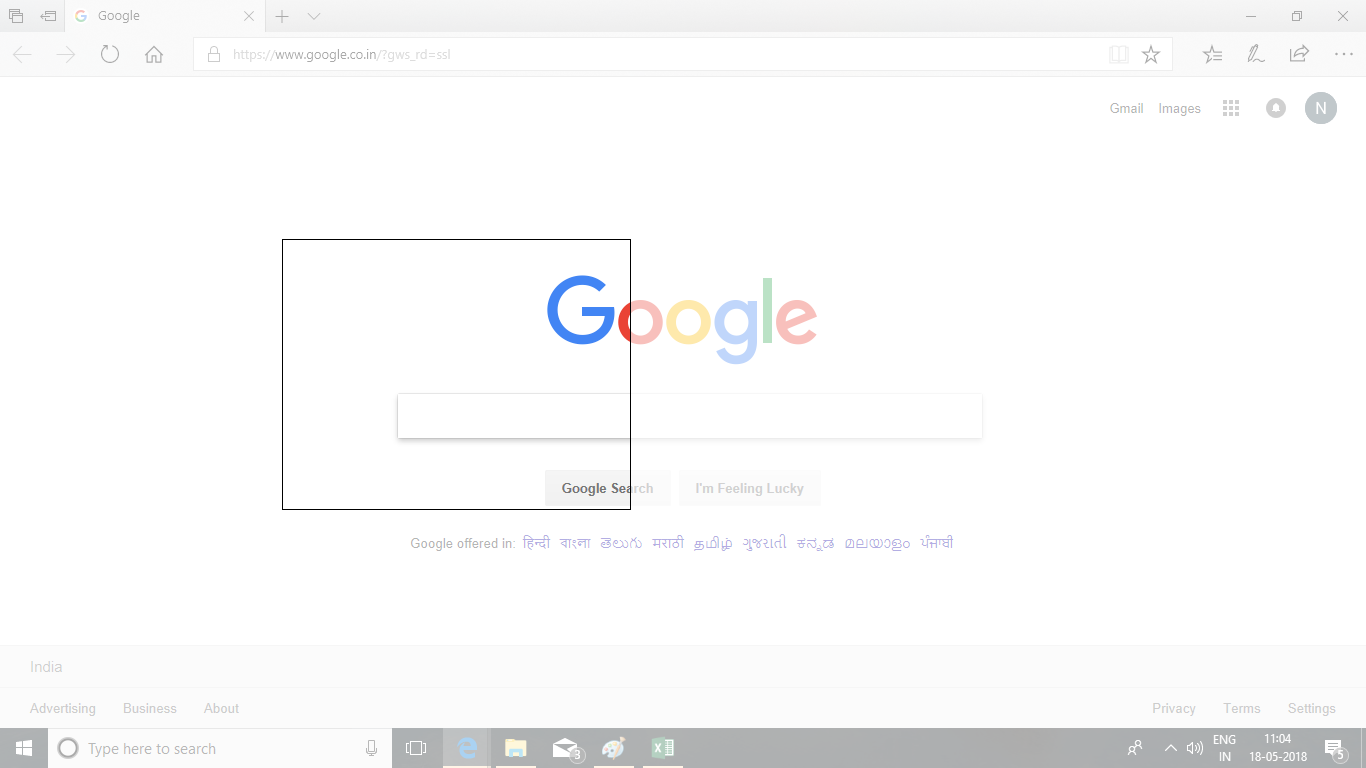
The area inside the box will be inserted.
Another method by which she can insert a screenshot into her sheet by following these steps.
-Take a screenshot of the screen that you want to insert. How to take a screenshot varies from system to system.
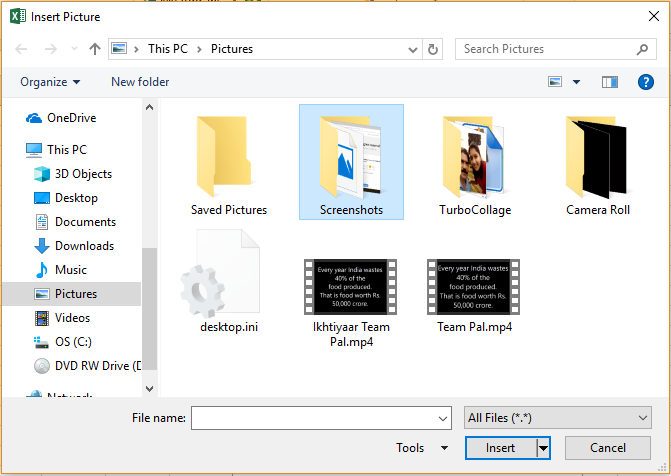
-Now go to the sheet and click on the ‘Insert Picture’ option in the ‘Insert’ menu. She can select the image from the ‘Screenshots’ folder from the ‘Pictures’ folder of your computer, similar to how you insert any other image.