Often, after we insert a graphic, like SmartArt, we will find a need to edit and modify it to suit our purposes. Farah is in a similar position. She has inserted a bullet-in SmartArt but wants to change it now. What are the options she has? She has many options to do this using the SmartArt Tools. This is a tab that gets opened by default on the ribbon, after she inserts a SmartArt. There are many ways in which she can edit the graphic she inserted but in this module we will look at how to ‘Reset’ the entire graphic into other forms.
Resetting the SmartArt
Supposing Farah has used the SmartArt tools to make changes to her graphic like colour, shape, etc. she can reset the graphic back to what she had originally inserted by using this option. To do this, she should follow these steps.
First, select the particular graphic and then click on the ‘Reset Graphic’ option from the ‘Reset’ group in ‘SmartArt Tools’ ‘Design’ menu, found on the right-hand side of the screen. The graphic will be restored to its old original.
Convert to Shapes
Farah also has an option of converting the graphic she inserted into a shape. If she does not want to insert any text into the graphic, she can choose this option.
To do this, she has to click on the ‘Convert to Shapes’ option in the ‘Reset’ group of the ‘SmartArt Tools’ ‘Design’ menu, found towards the right-hand side end. Her SmartArt will now behave as a mere shape. The next time she clicks on this for formatting, instead of the ‘SmartArt Tools’ tab. ‘Drawing Tools’ tab will open on the ribbon.
Change Shape
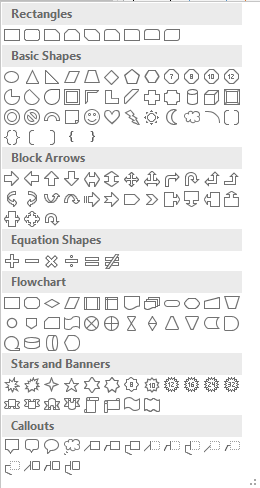
Supposing Farah has inserted a bulletin list that has rectangular bars and she wants to make these into oval, she can do this by selecting the particular bar she wants to change the shape of, clicking on the ‘Format’ tab under ‘SmartArt Tools’ and choosing a shape from the ‘Change Shape’ dropdown list found to the left side of the ribbon under ‘Shapes’ group.
The shape will be changed.


