We will continue to build our blog app where we left in the post writing-your-first-blog-app-in-django-part-13.
So upto previous post we have created sign up form in our accounts app.So now in this post we will move on to create a login page.
So first change the accounts/urls.py to include login url as following:
from django.conf.urls import url
from . import views

app_name = 'accounts'

urlpatterns = [
    url(r'^signup/$', views.signup_view, name="signup"),
    url(r'^login/$', views.login_view, name="login"),
]
So now we have made one url for login,make the appropriate view named login_view in accounts/views.py file.So change the accounts/views.py file as following to add that function.
from django.shortcuts import render,redirect
from django.contrib.auth.forms import UserCreationForm,AuthenticationForm

def signup_view(request):
    '''
    If the request is post then we will take the data that we've
    got from the form and we want to somehow validate it and the way we do that
    is by following:
    '''
    if request.method == 'POST':
        '''
        What this instance is doing is essentially kind of valid in that data
        for us.If this data is okay(like user is already exists or not,password in
        long enough or not etc..).That's going to return us a instance of form
        that is either valid or invalid.If it is valid save that form to database.
        '''
        form = UserCreationForm(request.POST)
        if form.is_valid():
            form.save()
            #log the user in
            #redirect the user to articles list page
            return redirect('articles:list')
    #if the request is get then create a blank instance of user creation form.
    else:
        #create a new instance of the form
        form = UserCreationForm()
    #send that form to template
    return render(request, 'accounts/signup.html',{'form':form})

def login_view(request):
    '''
    same as the signup view,in the login we can also have get request or post request
    if the request is post
    '''
    if request.method == 'POST':
        form = AuthenticationForm(data=request.POST)
        if form.is_valid():
            #log the user in
            #redirect the user to articles list page
            return redirect('articles:list')
    else:
        #this will be get request.When user clicks on login link or he will go to /accounts/login/
        #we will send them a login form to the template and render that form in the browser
        #create a new instance of the form
        form = AuthenticationForm()
    return render(request, 'accounts/login.html',{'form':form})
So first check the login_view function.It is very much similar to signup_view.So here in the login_view we are using django’s inbuilt AuthenticationForm.
Same as the signup_view,in the login_view we are also checking whether the request is GET request or POST request.If the request is post request then it will validate that data, and if the data is valid then it will redirect the user to articles list page.GET request is same as signup_view.
So we are rendering the user to login.html template which is the login form.So first create login.html template in the same directory where you have created signup.html template previously and change the content of that file as following:
{% extends 'base_layout.html' %} {% block content %}
<h1>Login</h1>
<br>
<br>
<!--site-form is for stying purposes -->
<form class="site-form" action="/accounts/login/" method="post">
    {% csrf_token %}
    <!-- output all of fields which comes baked with django inbuilt form -->
    {{ form }}

    <input type="submit" value="Login">
</form>
{% endblock %}
So now run the server and go to this url http://127.0.0.1:8000/accounts/login/ .You will be shown this login page.
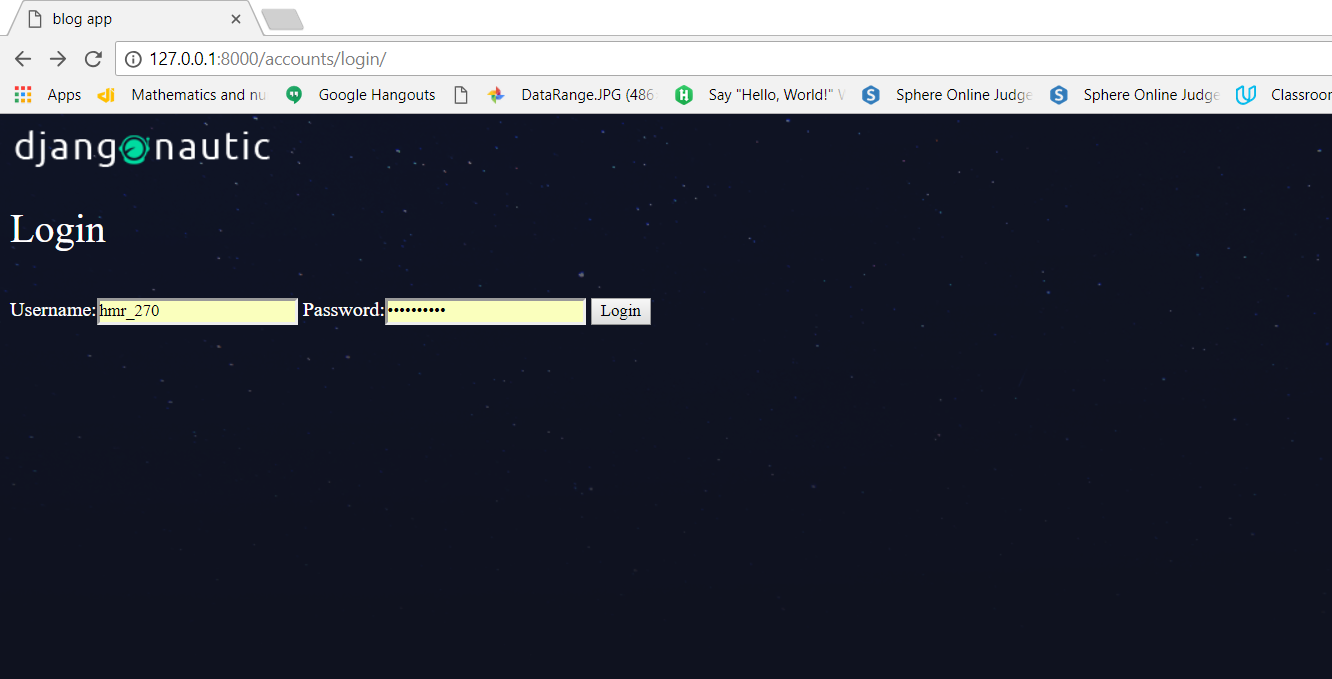
If you provide the correct username and password it will redirect you to the articles list page,otherwise it will show some error message.
So in this post we have created with the help of django’s inbuilt authenticationform.