We will continue to build our blog app where we left in the post writing-your-first-blog-app-in-django-part-10.
In this post we will look at how to make accounts app to control our signing flow.If i want to add more user then i can add user by django-admin,but this is not good user experience.
So ideally what we want to do is allow a user to sign up from the front-end.So create some kind of form and then allow that user to fill in the form to sign up for an account and when they have an account they can also add blogs or articles from the front-end.We don’t want our everyday users logging into the admin section because this is for admin users only.So against what we need to do is create a new app within our project which is going to allow this kind of functionality.We can create templates within that app-log in user or sign up your user
Fortunately django comes with a lot of user authentication stuff already baked into it.So the first thing i like to do then is create a new app to handle our user authentication or our user accounts.So to create a new app accounts add the following line in command prompt:
python manage.py startapp accounts
This will create a accounts app as a sub-directory in your main directory.
Now you have your accounts app created,you have to write it’s name in INSTALLED_APPS directory in settings.py file.
Accounts app you created doesn’t contain urlspy file.So first create urls.py in accounts app and add the content shown below in that file:
from django.conf.urls import url
from . import views

app_name = 'accounts'

urlpatterns = [
    url(r'^signup/$', views.signup_view, name="signup"),
]
After that change the main blog/urls.py file as following to add accounts app url. So we are including all url’s which are written in urls.py file of accounts app by saying include(‘acccounts.urls’):
from django.contrib import admin
from django.urls import path
from django.conf.urls import include,url
from django.contrib.staticfiles.urls import staticfiles_urlpatterns
from django.conf.urls.static import static
from django.conf import settings

urlpatterns = [
    path('admin/', admin.site.urls),
    path('articles/', include('articles.urls')),
    path('accounts/', include('accounts.urls')),

]

urlpatterns +=staticfiles_urlpatterns()
urlpatterns +=static(settings.MEDIA_URL, document_root = settings.MEDIA_ROOT)
After that change the accounts/views.py file as following:
from django.shortcuts import render

def signup_view(request):
    return render(request, 'accounts/signup.html')
So we are rendering to signup.html template in views.py file.So to store that template file first create template directory inside accounts app,in the template directory create another directory called accounts and inside that create signup.html template.
In the signup.html template add the following content.
{% extends 'base_layout.html' %} {% block content %}
<h1>Signup</h1>
{% endblock %}
So basically we are sawing only signup text,for testing.So now run the server and go to this url:http://127.0.0.1:8000/accounts/signup/
It will open the page which will show signup text as following:
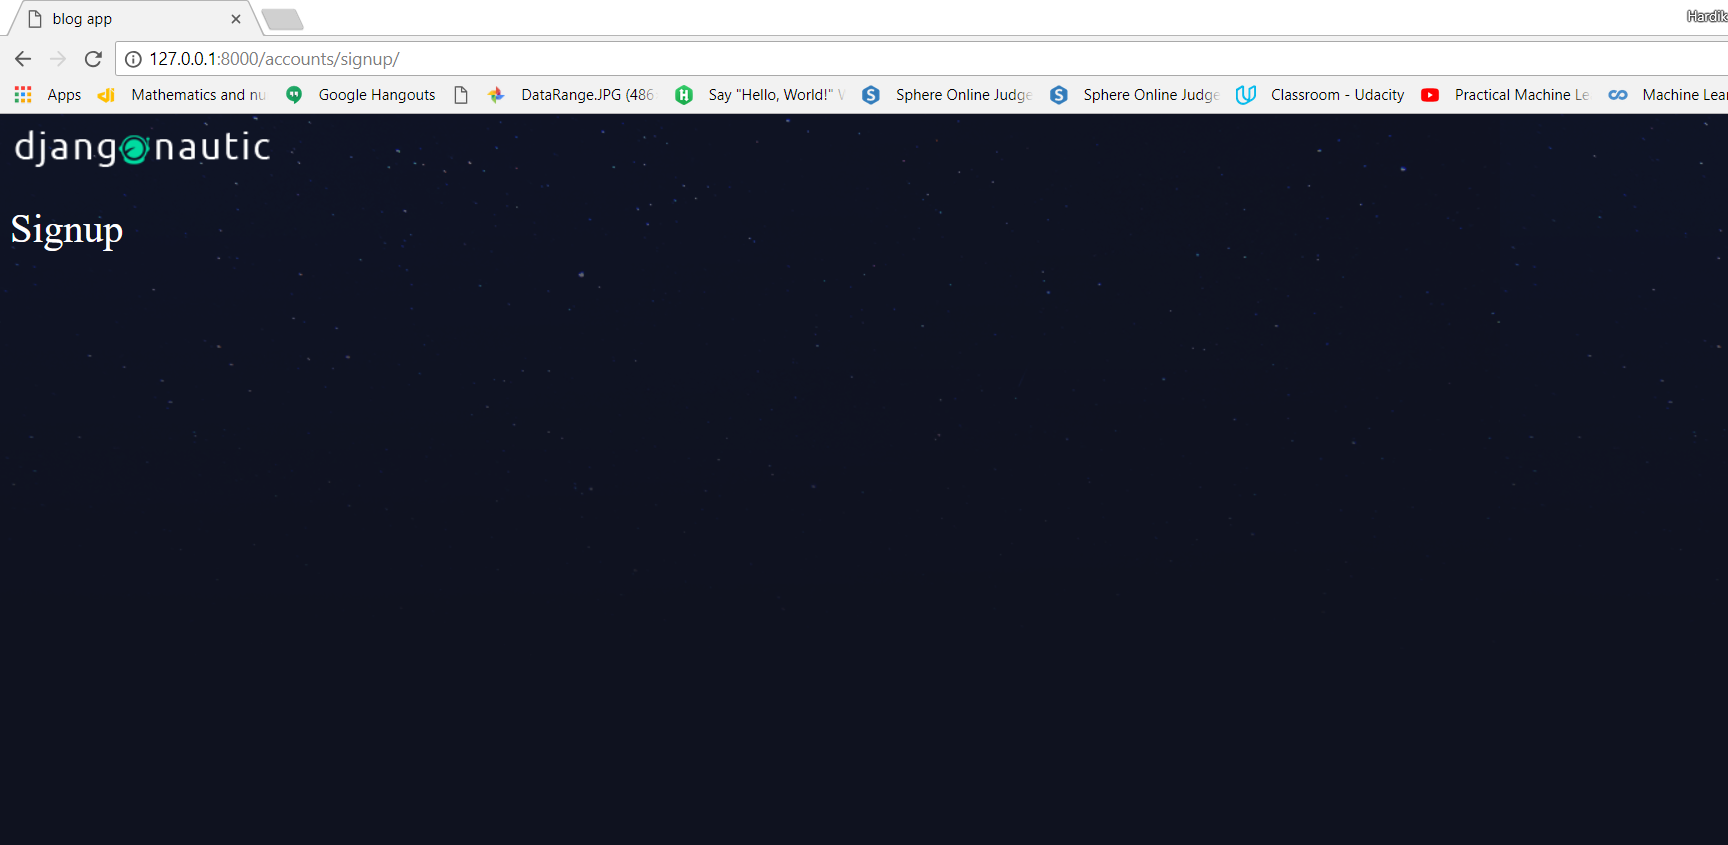
So in the above page till now we are only showing h1 tag,but this is the page where we will make a form for user sign up.
So in the next post we will make a user creation form(which come packed with django) in the page which is shown above.
This is all about how to create accounts app which will manage user signup’s and login’s.