So we will continue to build our weather app from where we left in this post: “Creating a Weather App in Django- Part3“.
So we are done with most of all functionalities in our app,but upto now we are not taking the city input from a user.So what we will do in this post is we will create a form that will take a name of the city as a input from user and will print the weather of that city in the home page.
So first create one forms.py file inside the weather app and add the following content inside it.
#import inbuilt forms
from django.forms import ModelForm, TextInput
#import model from models.py file
from .models import City

class CityForm(ModelForm):
    class Meta:
        model = City
        #only one field we want to use
        fields = ['name']
        widgets = {'name' : TextInput(attrs={'class' : 'input', 'placeholder' : 'City Name'})}
After creating this forms.py file change the weather/views.py file as following to save the data into database which will user enter into that form field as following:
import requests
from django.shortcuts import render
from .models import City
from .forms import CityForm

# Create your views here.
def index(request):
    #units as imperial is that we will get a temperature as fahrenheit
    #q is a placeholder,which is the name of city we are going to send
    url = 'http://api.openweathermap.org/data/2.5/weather?q={}&units=imperial&appid=3ff8381e34d35112cf9d8002e792efeb'

    #if the method is post
    if request.method == 'POST':
        form = CityForm(request.POST)
        form.save()

    form = CityForm()

    cities = City.objects.all()

    weather_data = []


    for city in cities:
    #.json will convert the result into a json object
    # we were converting it into json because json object can be easily represented by python list or dictionary
        r = requests.get(url.format(city)).json()

        city_weather = {
            'city': city.name,
            'temperature': r['main']['temp'],
            'description': r['weather'][0]['description'],
            'icon': r['weather'][0]['icon'],
        }

        weather_data.append(city_weather)


    context = {'weather_data' : weather_data, 'form' : form}

    return render(request, 'weather/weather.html',context)
After this at the end change the weather.html file as following to add csrf_token and form field inside it.
<!DOCTYPE html>
<html lang="en">

<head>
    <meta charset="UTF-8">
    <meta name="viewport" content="width=device-width, initial-scale=1.0">
    <meta http-equiv="X-UA-Compatible" content="ie=edge">
    <title>Document</title>
    <link rel="stylesheet" href="https://cdnjs.cloudflare.com/ajax/libs/bulma/0.6.2/css/bulma.css" />
</head>

<body>
    <section class="hero is-primary">
        <div class="hero-body">
            <div class="container">
                <h1 class="title">
                    What's the weather like?
                </h1>
            </div>
        </div>
    </section>
    <section class="section">
        <div class="container">
            <div class="columns">
                <div class="column is-offset-4 is-4">
                    <form method="POST">
                        {% csrf_token %}
                        <div class="field has-addons">
                            <div class="control is-expanded">
                                {{ form.name }}
                            </div>
                            <div class="control">
                                <button type="submit" class="button is-info">
                                    Add City
                                </button>
                            </div>
                        </div>
                    </form>
                </div>
            </div>
        </div>
    </section>
    <section class="section">
        <div class="container">
            <div class="columns">
                <div class="column is-offset-4 is-4">
                    {% for city_weather in weather_data %}
                    <div class="box">
                        <article class="media">
                            <div class="media-left">
                                <figure class="image is-50x50">
                                    <img src="http://openweathermap.org/img/w/{{ city_weather.icon }}.png" alt="Image">
                                </figure>
                            </div>
                            <div class="media-content">
                                <div class="content">
                                    <p>
                                        <span class="title">{{ city_weather.city }}</span>
                                        <br>
                                        <span class="subtitle">{{ city_weather.temperature }}° F</span>
                                        <br> {{ city_weather.description }}
                                    </p>
                                </div>
                            </div>
                        </article>
                    </div>
                    {% endfor %}
                </div>
            </div>
        </div>
    </section>
    <footer class="footer">
    </footer>
</body>

</html>
So after doing all this changes run the command python manage.py runserver in your command prompt:
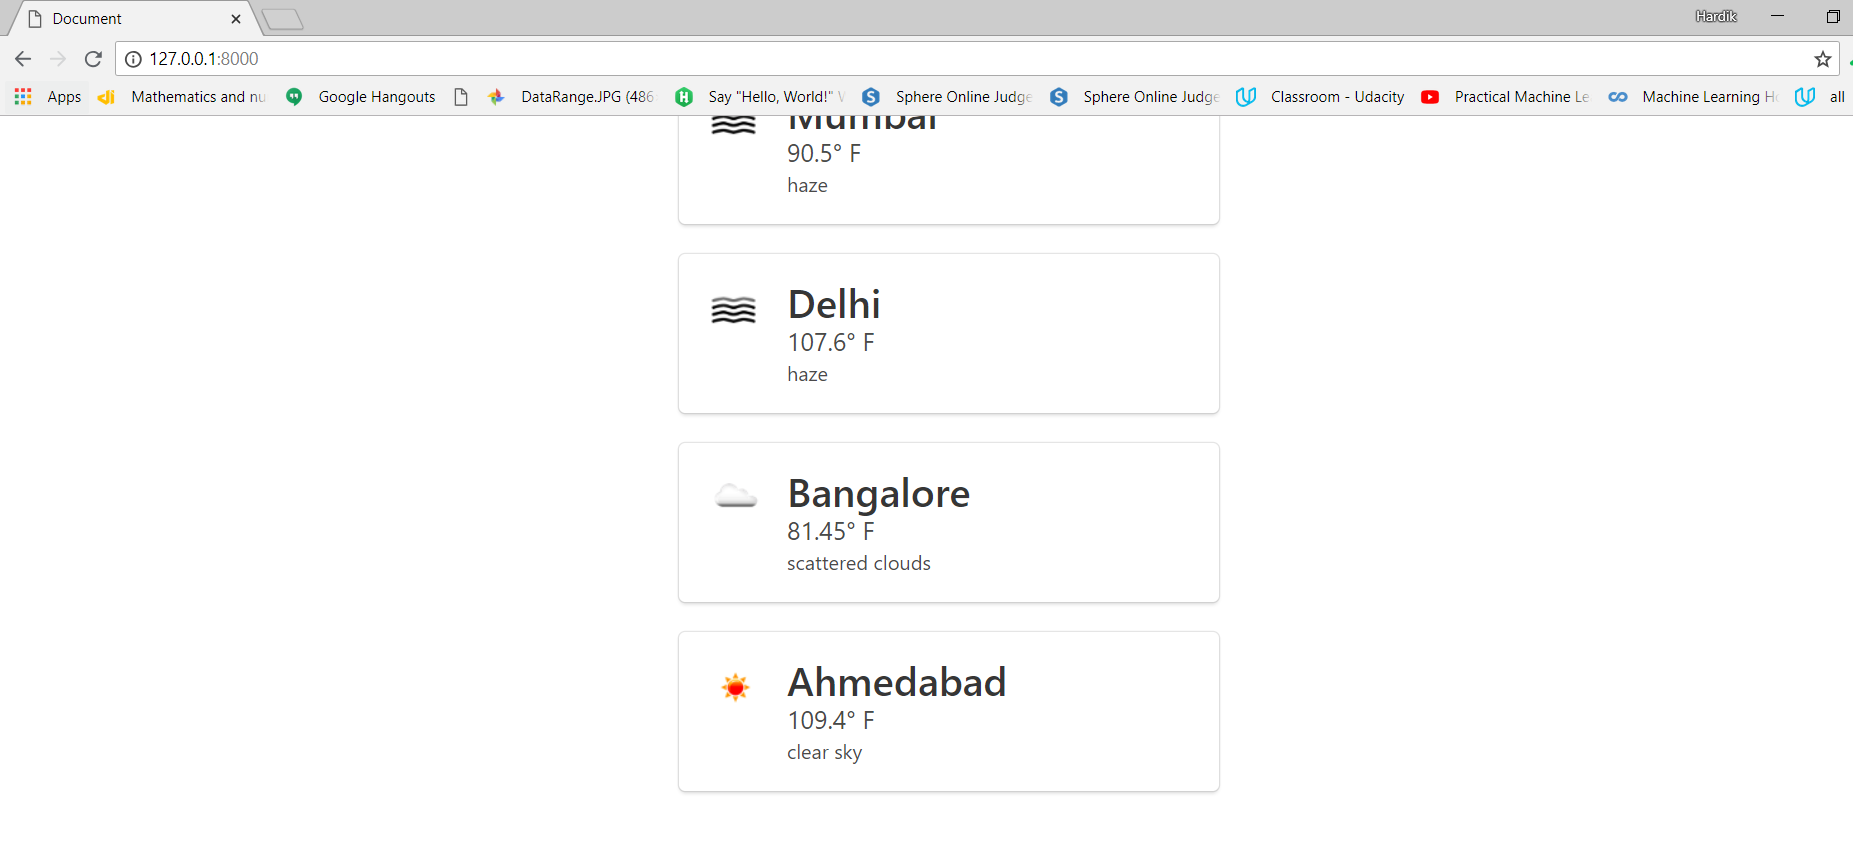
Now in the shown page enter the name of the city for which you want to know the weather:like for example i have added ahmedabad and when i hit submit button i will be shown the weather of ahmedabad in that page at the bottom of the list as following:
So this is all about creating a weather app in django.