We will continue to build our blog app where we left in the post writing-your-first-blog-app-in-django-part-9.
In this media we will see how we can upload media to our articles. Upto now we have displayed list of articles and also a single article on a web page.So now we also want all articles to have some kind of image or thumbnail.
So to do that follow this steps:First head over to the settings.py file inside blog directory and right at the bottom where we have added couple of lines for static files add couple of lines to that add media as well.We need to specify two properties there
The media URL:which is like the static URL and it says at what address do you want to find the media.Suppose for example i want to find
media at localhost/media.So first specify that by adding this line:MEDIA_URL = ‘/media’.
After that add one more property by adding this line: MEDIA_ROOT = os.path.join(BASE_DIR, ‘media’)
MEDIA ROOT is going to be folder where django uploads images to when we upload an image in the article creation screen
After that save this changes and open the blog/urls.py file and change it to this:
from django.contrib import admin
from django.urls import path
from django.conf.urls import include,url
from django.contrib.staticfiles.urls import staticfiles_urlpatterns
from django.conf.urls.static import static
from django.conf import settings

urlpatterns = [
    path('admin/', admin.site.urls),
    path('articles/', include('articles.urls')),

]

urlpatterns +=staticfiles_urlpatterns()
urlpatterns +=static(settings.MEDIA_URL, document_root = settings.MEDIA_ROOT)
After this in the articles/models.py add the field for asking user about thumbnail image as following:
from django.db import models

# Create your models here.
# Model is always represented by class
class Article(models.Model):
    title = models.CharField(max_length=100)
    slug  = models.SlugField()
    body  = models.TextField()
    #auto_add_now field will automatically assign a current date to the post we create
    date  = models.DateTimeField(auto_now_add=True)
    #first parameter-default image
    #second parameter is saying that it is not necessary
    thumb = models.ImageField(default='default.png', blank=True)
    #add in author later

    def __str__(self):
        return self.title

    #takes self as a input which is the instance of the article
    def snippet(self):
        #so we want to cut down the body.we want to make it 50 characters long.
        return self.body[:50]+'...'
Now we have a change in the models.py file we have to migrate those changes.For making migrations open up the command prompt and type this commands:
python manage.py makemigrations
python manage.py migrate
[Note:To add imagefield in the models.py file you have to first install Pillow in your system.Install it by this command:pip install Pillow]
Now we have done with the migrations,open up the server by python manage.py runserver.After that go to the admin section for adding in a new article.
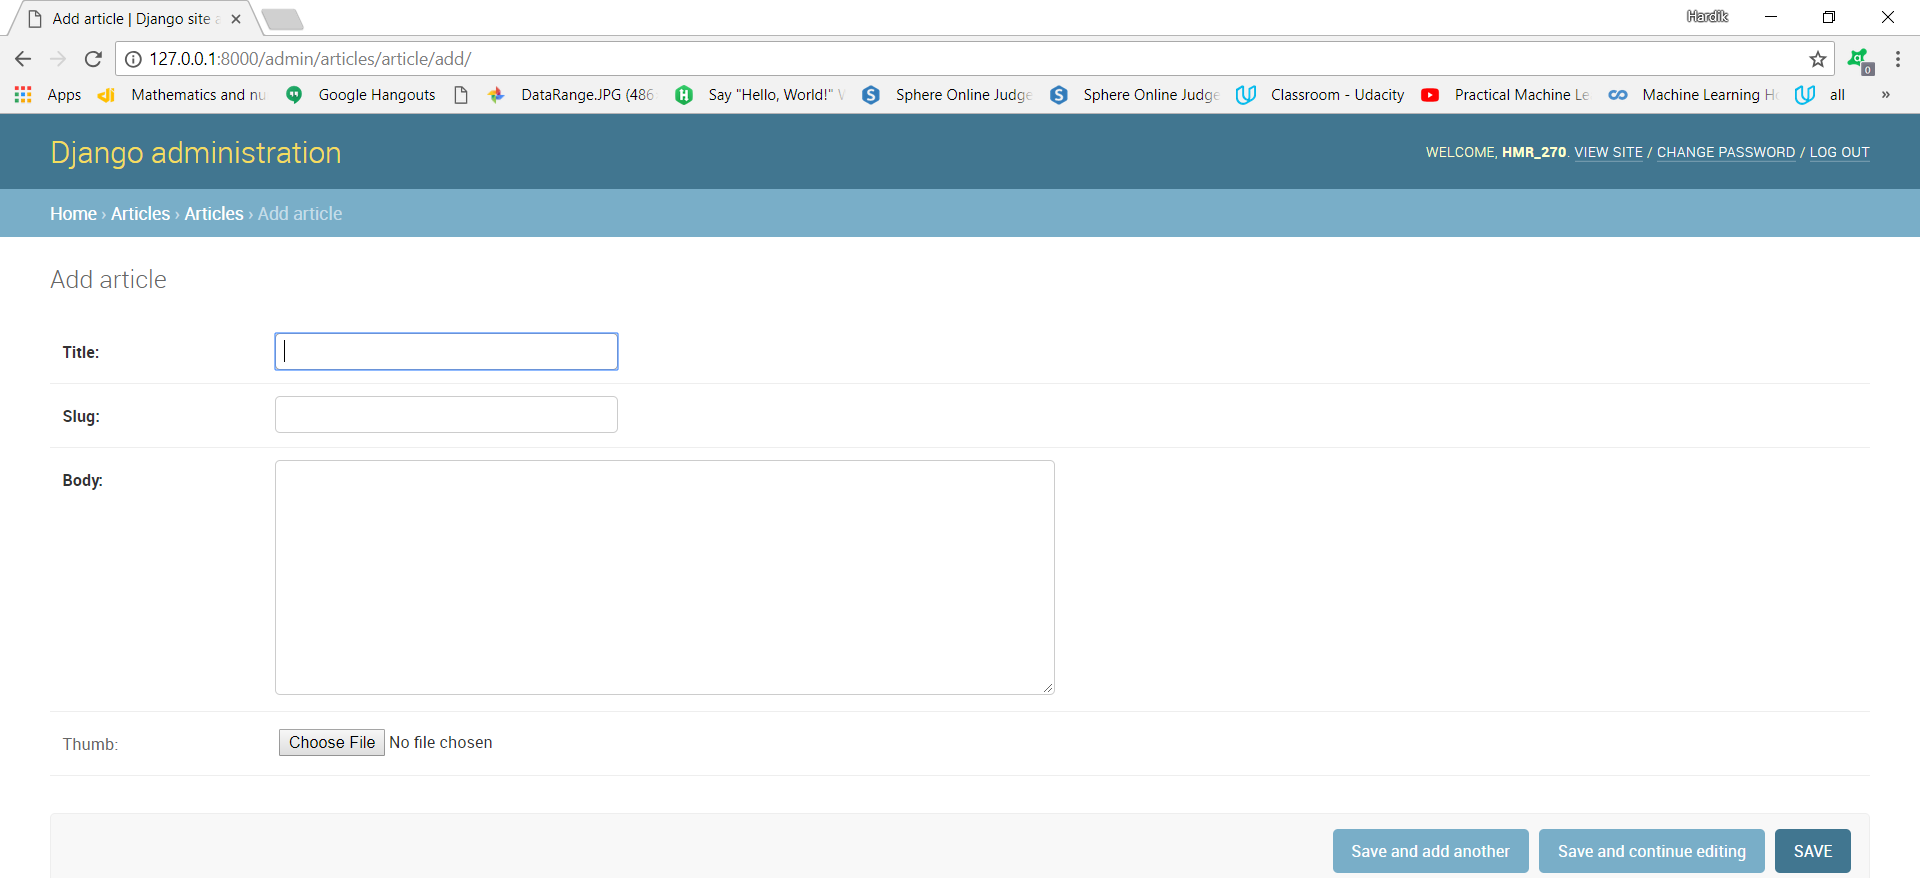
From the image above you will be able to see that now it will also ask for image while creating a new article.So create a new article named tes2 and add the image any logo image you want as thumbnail and save it,and chnage the article_detail.html file as following:
{% extends 'base_layout.html' %} {% block content%}
<br>
<br>
<div class="article-detail">
    <div class="article">
        <img src="{{ article.thumb.url }}" />
        <h2>{{ article.title }}</h2>
        <p>{{ article.body }}</p>
        <p>{{ article.date }}</p>
    </div>
</div>

{% endblock %}
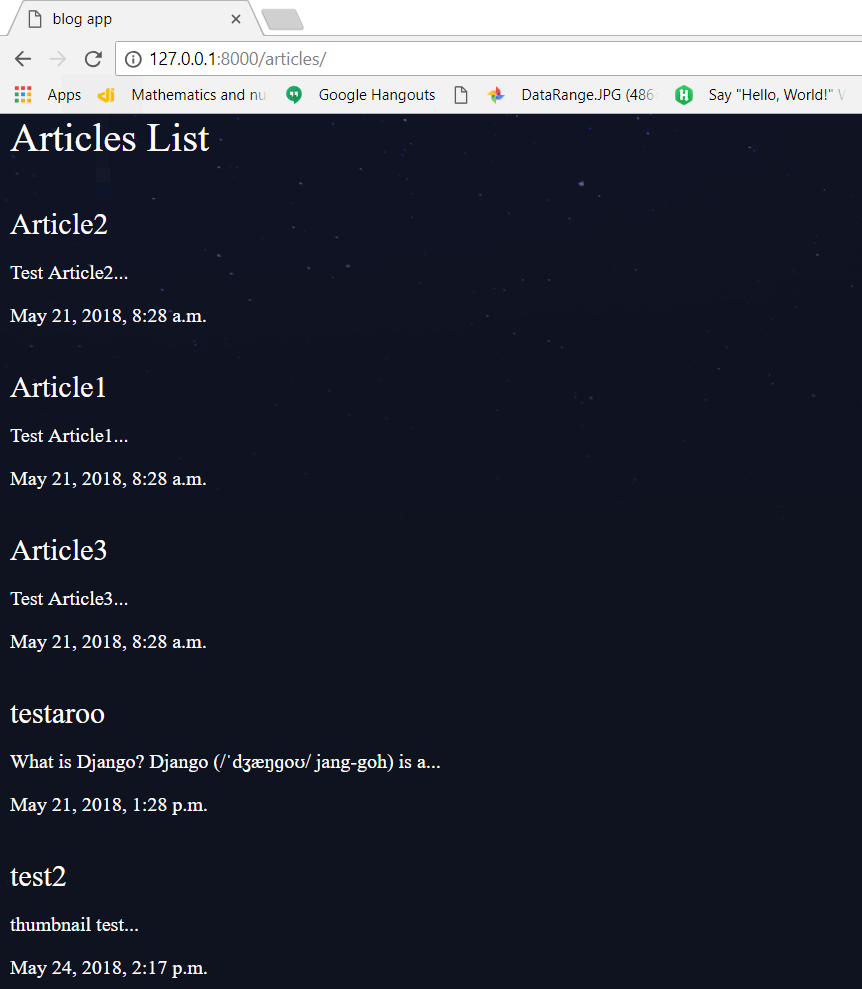
Now when you open the page it will include test2 article.
Now when you click on test2 title it will open this page:
So like this you can add images in all article you created.
So this is all about how to add thumbnails in our articles.


