Rishi has to share a workbook with Sanya. He doesn’t know how to do this and is confused. This module will look at sharing workbooks and how Sanya can work with the workbook he has just shared.
Sharing Workbooks -How to Share a Workbook in Excel?
To share a workbook, Rishi has to click on the ‘File’ menu and then click on the ‘Share’ option from the green bar. 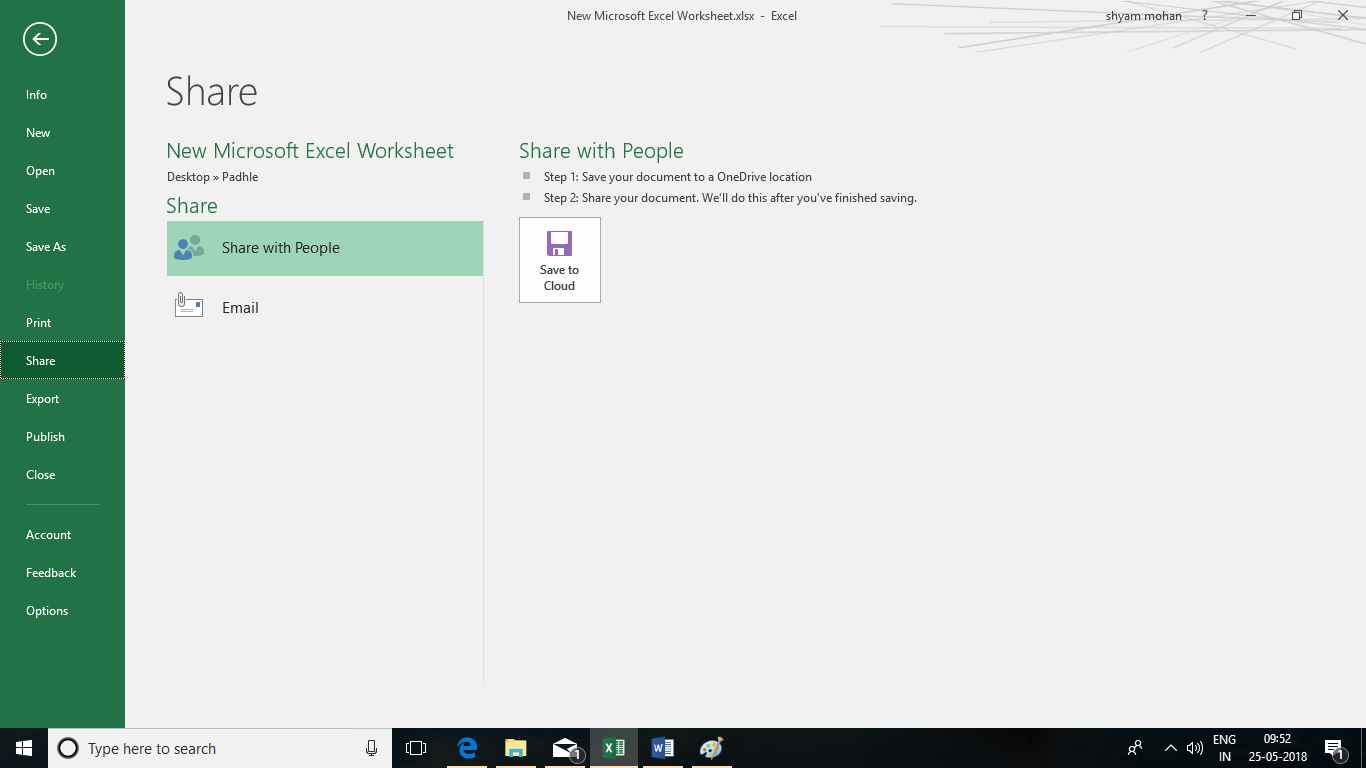
Click on the ‘Save to Cloud’ option. In the ‘Save as’ option choose the location as ‘OneDrive’ an click on ‘Save’.
Now, click on the ‘Share’ button again and click on the ‘Share with people’ option.
The ‘Share’ pane will open on the right.
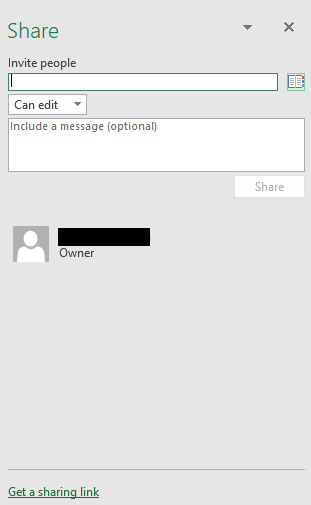
In the ‘Invite people’ textbox, he can enter Sanya’s email address.
in the drop down list below that he can decide if she should be able to just view or edit as well.
He can leave her a message about the same in the textbox below this.
Sharing Workbooks -How to Track Changes in a Shared Workbook?
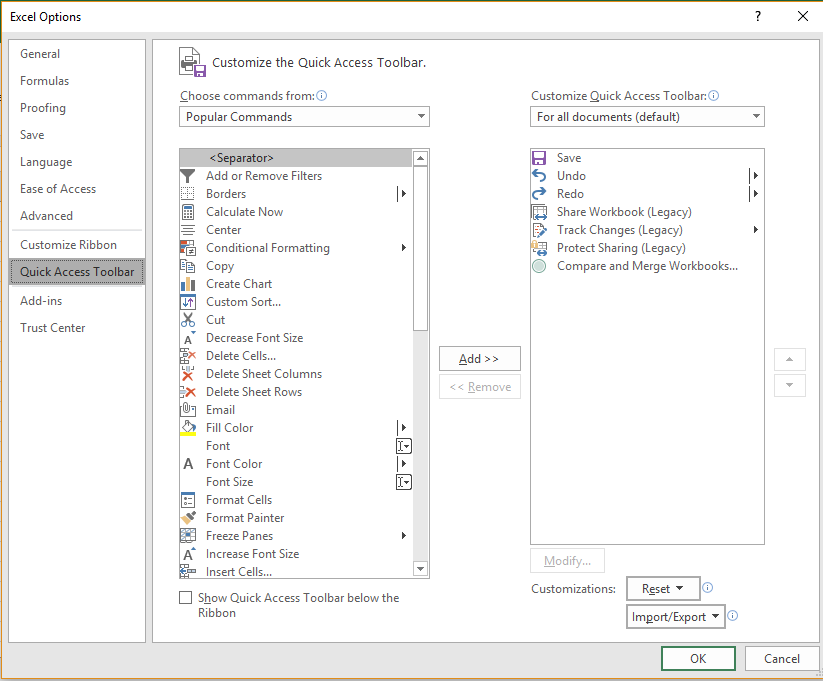
A problem with sharing a workbook is, if you have given access to a person to edit, then they could end up changing important details. Same is the case with Rishi. He is worried if Sanya will make changes to important information. He can track what changes Sanya is making using the ‘Track Changes’ option. In the newer versions of excel, this option may not be available in the ‘Review’ menu. What he can do in such a case is open the ‘File’ menu and select the ‘Options’ button on the green bar. The ‘Excel Options’ dialogue box will appear. He can now choose ‘Quick Access Toolbar’ option. From the list on the left hand side, he can select ‘Track Changes (Legacy) option and click on the ‘Add’ button. Once this is done, he can click on ‘Ok’.
Now, the ‘Track Changes’ option will appear on the toolbar.
Rishi can click on this button and choose ‘Highlight Changes’ option from the dropdown list. The following dialogue box will appear.
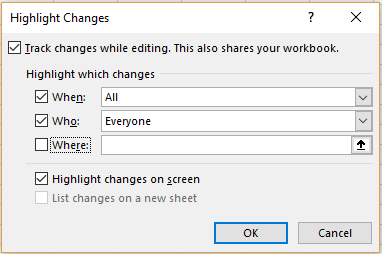 He can check the box beside ‘Track Changes while editing.’ option.
Once he checks the ‘When’ box he can see the following options.
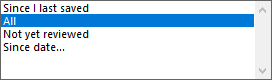 He can choose the option that best suits him.
When he checks the ‘Who’ box, he can choose from ‘Everyone’ or ‘Everyone but me’ options.
In the ‘Where’ option, he can specify a range of cells the changes made to which only need to be tracked.
He can check ‘Highlight changes on screen’ or ‘List changes on a new sheet’ options as he finds necessary.
He should click ‘Ok’ once done.
Sharing Workbooks -Accepting or Rejecting Changes
After he has received his file back from Sanya, Rishi can choose to accept or reject the changes made.
For that, he should click on the ‘Track Changes’ option from the toolbar and click on ‘Accept/Reject changes’ option. The following dialogue box will appear.
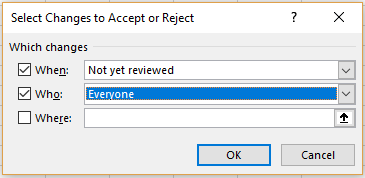
In the ‘When’ options he can choose if he wants to review the changes that were made since a particular date or those that are not reviewed till now. In the ‘Who’ options he can choose changes made by whom he wants to review and in the ‘Where’ option he can select the range of cells where the change has been made.
This way, he can safely share a document.