Often, there is a need to insert shapes and pictures in Excel to accompany values, for clarity. This article introduces you on how to insert them.
Shapes and Pictures in Excel -Where are the ‘Pictures’ and ‘Shapes’ options present?
The ‘Pictures’ and Shapes’ options can be found in the ‘Insert’ menu in the ‘Illustrations’ grouping.

Shapes and Pictures in Excel-How can we insert Pictures that are already saved in the computer to an Excel sheet?
We can do this by following these steps:
Select the sheet in which you want to insert the picture. Now click on the ‘Insert’ tab and choose ‘Picture’ option.
The following dialogue box will appear.
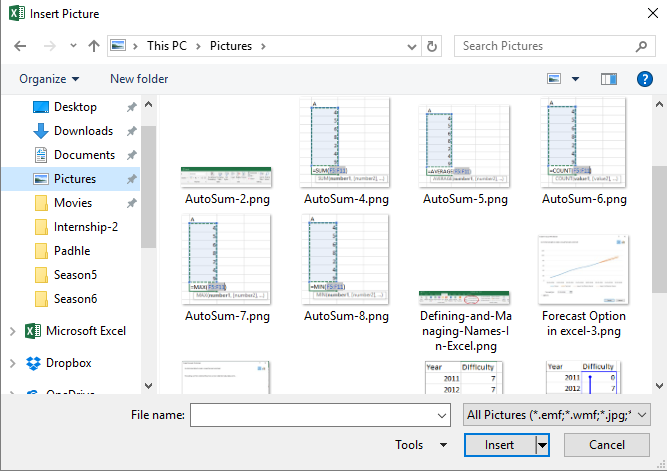
Select the location of your picture and then click on the image when you find it.
Click on ‘Insert’. The picture you chose will now be inserted.
The ‘Design Tools’ menu will open on the top where you can change the appearance of your picture.
Shapes and Pictures in Excel-How can we insert a Picture from the Web onto an Excel Sheet?
Select the sheet in which you want to insert the picture. Now click on the ‘Insert’ tab and choose ‘Online Picture’ option.
The following dialogue box will appear.
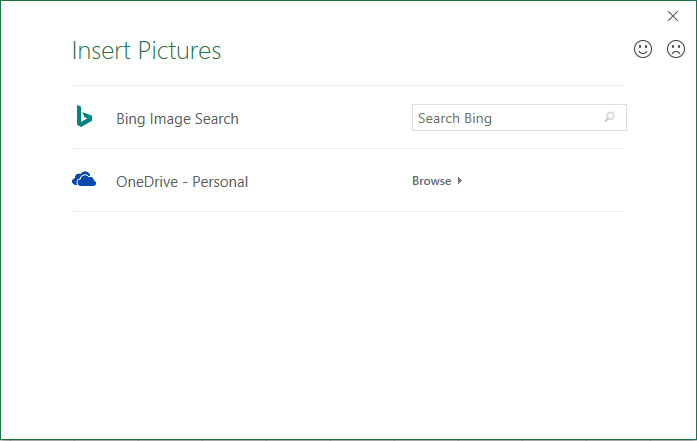
Click on the ‘Search’ textbox and enter a keyword to search for the image you want.
For example, ‘Microsoft Excel’.
Press the ‘Enter’ key.
The results of the search will be displayed.
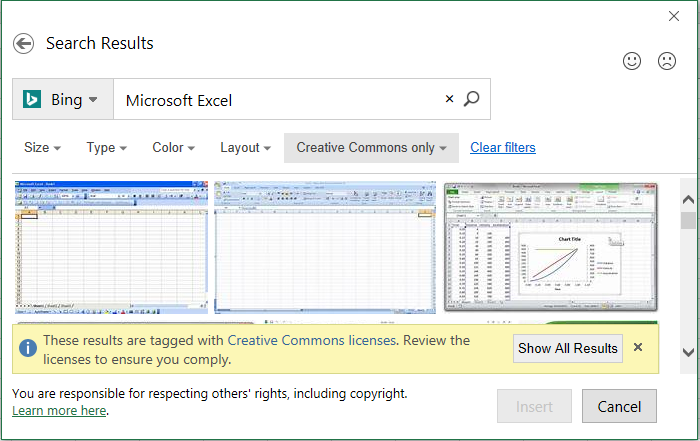
Select the image you want and then click ‘Insert’.
Your image will be inserted.The ‘Design Tools’ menu will open on the top where you can change the appearance of your picture.
Shapes and Pictures in Excel-How can we insert a shape onto the Excel Sheet?
Select the sheet in which you want to insert the shape. Now click on the ‘Insert’ tab and choose ‘Shapes’ option.
The following dropdown list will appear.
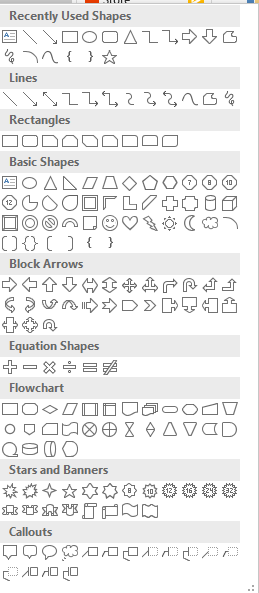
Choose the shape you want to insert. Now, all you have to do is draw the shape on the sheet, at the place you desire and according to the size you want. The ‘Design Tools’ menu will open on the top where you can change the appearance of your shape.
Example:
Alex wants to add the picture of a graduation cap on to his report on the marks of graduating students. How can he do this?
Solution:
Alex should select the sheet in which he wants to insert the picture and then click on the ‘Insert’ tab. He should choose the ‘Online Picture’ option. In the dialogue box that will appear, he should click on the ‘Search’ textbox and enter the keyword ‘graduation cap’ and then press the ‘Enter’ key.
The results of the search will be displayed. He can now select the image he wants and click ‘Insert’.