In this tutorial we will talking out any website we created in django and pushing it live to production.Like in our previous tutorial we have created a very beautiful and useful blog app,so it could be better if the people in the world can access our website.
So there are lot of ways to put a website into production and let the public access it.So there are many options but we are going to use heroku becuase it is free and easy to use with some commands in git. Heroku is basically a server or fleet of servers that make it very easy for us to launch our application.They handle everything behind the scene to make that happen behind django but like all the servers working together to make sure that our application runs on a very smooth level.
So first go here https://www.heroku.com/ and sign up for a free account.After signing up go for downloading the command line interface of heroku based on your operating system. This command line interface will allow us to work with heroku directly from the command prompt.
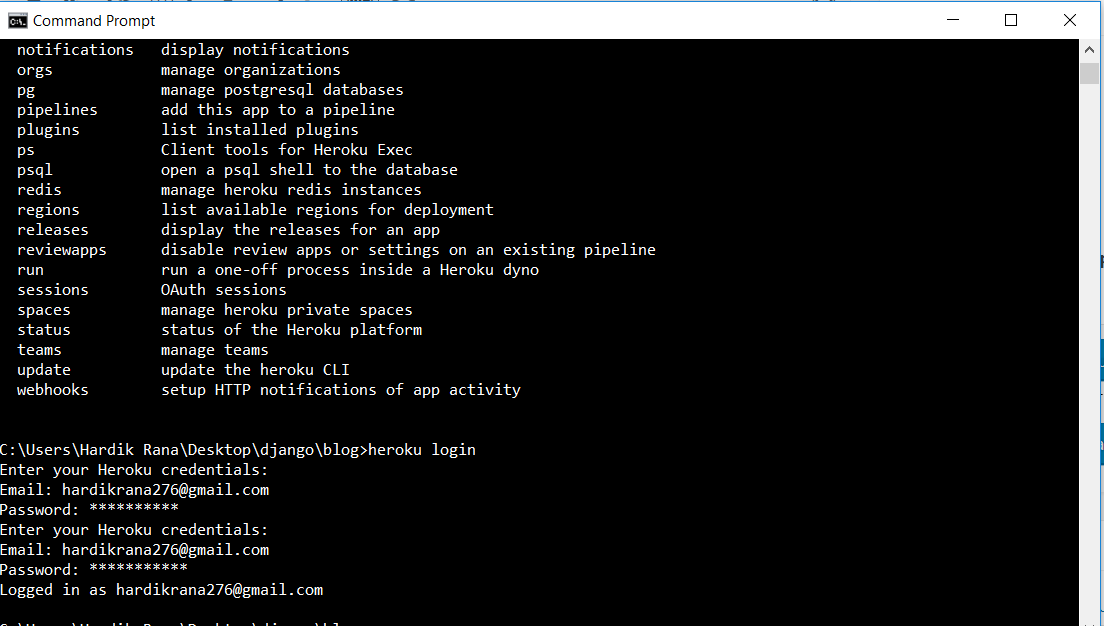
So after downloading heroku command line and signing in,open the command prompt and cd into project which you want to publish on server.So after that type command heroku login, which will ask you the email and password of yours.After entering correct values it will show you that you are logged in as following:
heroku apps –all command will show all of your published apps as following:

Step1: So after this first run this command: pip install dj-database-url gunicorn psycopg2 whitenoise
Step2: After that run this command which will create a requirements file,which contains all the requirements of your
app.
pip freeze > requirements.txt
asn1crypto==0.24.0
auxlib==0.0.42
awscli==1.14.41
beautifulsoup4==4.6.0
bleach==2.1.2
botocore==1.8.45
certifi==2018.1.18
cffi==1.11.5
chardet==3.0.4
click==6.7
colorama==0.3.7
conda==4.2.7
cryptography==2.2.2
cycler==0.10.0
decorator==4.1.2
dj-database-url==0.5.0
Django==2.0.2
django-crispy-forms==1.7.2
django-tables2==1.21.0
docutils==0.14
entrypoints==0.2.3
enum34==1.1.6
ez-setup==0.9
Flask==0.12.2
gevent==1.2.2
greenlet==0.4.13
gunicorn==19.7.1
html5lib==1.0.1
idna==2.6
inflection==0.3.1
ipykernel==4.7.0
ipython==6.2.1
ipython-genutils==0.2.0
ipywidgets==7.0.5
itsdangerous==0.24
jedi==0.11.0
Jinja2==2.10
jmespath==0.9.3
jsonschema==2.6.0
jupyter==1.0.0
jupyter-client==5.1.0
jupyter-console==5.2.0
jupyter-core==4.4.0
linecache2==1.0.0
lxml==4.2.1
MarkupSafe==1.0
matplotlib==2.1.0
mistune==0.8.3
more-itertools==4.1.0
mpmath==1.0.0
mysqlclient==1.3.12
nbconvert==5.3.1
nbformat==4.4.0
ndg-httpsclient==0.5.0
nose==1.3.7
notebook==5.2.2
numpy==1.14.2
pandas==0.21.0
pandocfilters==1.4.2
parso==0.1.0
pickleshare==0.7.4
Pillow==5.1.0
prompt-toolkit==1.0.15
protobuf==3.1.0
psycopg2==2.7.4
pyasn1==0.4.2
pycparser==2.18
Pygments==2.2.0
pyOpenSSL==17.5.0
pyparsing==2.2.0
python-dateutil==2.6.1
python2==1.2
pytube==9.2.2
pytz==2018.3
PyYAML==3.12
pyzmq==16.0.3
qtconsole==4.3.1
Quandl==3.3.0
requests==2.18.4
rsa==3.4.2
ruamel.yaml==0.15.37
s3transfer==0.1.13
scikit-learn==0.19.1
scipy==1.0.0
selenium==3.9.0
simplegeneric==0.8.1
six==1.11.0
sklearn==0.0
sympy==1.1.1
tensorflow==0.12.0
testpath==0.3.1
tornado==4.5.2
traceback2==1.4.0
traitlets==4.3.2
unittest2==1.1.0
urllib3==1.22
virtualenv==15.1.0
virtualenvwrapper-win==1.2.5
wcwidth==0.1.7
webencodings==0.5.1
Werkzeug==0.14.1
whitenoise==3.3.1
widgetsnbextension==3.0.8
you-get==0.4.1077
Step 3: After this create one Procfile in the root directory and add following content in that:
web: gunicorn blog.wsgi , where blog is your app name.
Step 4: Create one runtime.txt file in root directory and add your current python version in that(for ex:python-3.6.5)
Step 5: In the blog/settings.py file add following content:
import dj_database_url
db_from_env = dj_database_url.config(conn_max_age=500)
DATABASES['default'].update(db_from_env)
Step 6: In the blog/wsgi.py file add the following content:
from whitenoise.django import DjangoWhiteNoise
application = DjangoWhiteNoise(application)
Step 7: After that in the blog/settings.py file add following content:
STATIC_URL = '/static/'

STATICFILES_DIRS = (
    #use this to join two paths
    #first path is BASE_DIR.it will grab the base directory of our project
    #second path is folder inside this base directory where we will store our static files
    os.path.join(BASE_DIR, 'assets'),
)

STATIC_ROOT = os.path.join(BASE_DIR, "staticfiles")
STATICFILES_STORAGE = 'whitenoise.django.GzipManifestStaticFilesStorage'
Step 8: After that run this git commads:
git init
git add .
git status
git commit -m “deploying”
Step 9: At the last do this final steps to push your app into heroku.
heroku login(enter your email and password after that)
heroku create hardik-blog(where hardik-blog is the name of app,you can give any)
git push heroku master
After doing this you can access you blog-app at https://hardik-blog.herokuapp.com/.
So in this post we learned how deploy a django app on heroku.